How to: Add a Product
There are a number of ways you can start the process of adding a product – they all result in a product being added, the only difference is what customer is pre-selected on the first part of the Add Product wizard.
Step-by-Step Instructions:
This is one way you can add a product to your account:
1. Login to the portal.
2. On the Products Page, Click “Add Product”.
This page will list all of the products you have provisioned.
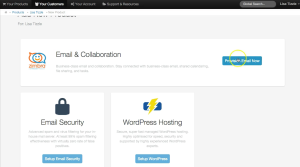
3. Select which type of product you’d like to provision.
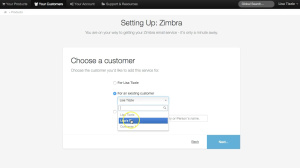
4. Select who you will be provisioning a product for: For the account you are logged into, For an existing customer or for a new customer.
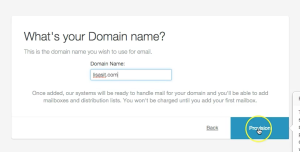
5. Enter the domain name you wish to use for the email and click Provision.
This will have successfully provisioned a product. Follow the next steps to complete your account.
Shortlink:


