Shortlink:
There are a few things you need to do before you can send out your emails. Below we'll show you how to edit your logo, call to actions, testimonial etc
1
Changing the Logo
Modifying the logo is relatively simple.
a. Find or create a white transparent version of your logo with the dimensions 165px by 31px
b. Upload that logo to your website hosting. Save the url.
c. Find ‘yourlogo.png’ in the document and replace the full URL with your URL.
2
Modifying the links
There are a few links which you need to change so they go to the right place.
a. the logo’s – all of the logos in the templates have a link surrounding them.
b. to replace the logo links search the document for ‘linktowebsite’ and replace these with a link to your website. Don’t forget to include the ‘http://’
c. You can even change the phone number at the top of the document to a link to your website using the following code:
<a href=”http://yourwebsite.com”>yourwebsite.com</a>
Simply search for “call” and replace the text with the above.
3
Branding
There are several places to insert your branding from colour to name.
a. To modify your colour search the document(Ctrl+F) for ‘#4195c1’ and replace with your brand colour. This should be a dark-ish colour.
b. Next get your company name in there. In the sub headline of the main section we use ‘In-Tuition’ – Change this to your company name.
c. In the footer of the email we use a copyright which says “[your-company-name]” – replace this with your company name.
4
Personalising Your Testimonial
Use a customer testimonial to encourage your prospects to take up your services.
a. Find, in the footer, we’ve got a testimonial “Zimbra+ takes Zimbra to the next level”
b. Replace this with something your customers have said.
c. Don’t forget to change the ‘company ltd’ to the real customer too.
5
Editing Your Call To Action
Replacing the call to action is key.
a. Find ‘Want more information’ and replace it with the text you want it to say. Or you can simply change your phone number.
b. Replace the ‘give us a call on…’ with ‘visit our website’ using the following code:
visit our <a href=”/link-to-your-website”>website</a>
6
Getting Social
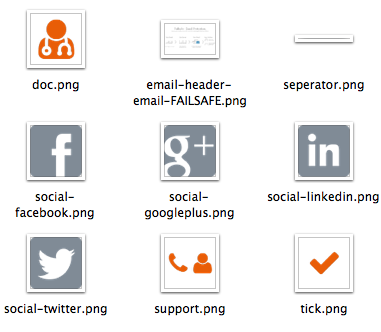
We’re at the final straight now. Let’s edit your social media details.
a. Feel free to remove these if you don’t use them. simple find ‘follow us’ in the code and delete the block. which starts with a comment ‘Start Socialmedia Icons’
b. Or replace the links which start /link-to- then ‘twitter’, ‘facebook’, ‘googleplus’ and ‘linkedin’ with your social links.
7
Hosting your assets
We’re more than happy to host the assets for you however you are also welcome to do so.
1. Open the images folder in the package you downloaded.
2. Upload these to your webserver.
3. Replace the url: ‘http://in-tuition.net/assets/emails/images/’ with your image asset URL. Do a complete find and replace to ensure all images are captured. Including the separator.png file which is crucial for alignment of the email.
8
Using with a mailing system

Next we need to copy that code into an email marketing system.
Mailchimp offers free mailing with a mailing list below 2,000 and less than 12,000 emails a month.
Once you’ve imported your list –
a. Create a campaign, using the above list.
b. Select the custom code option when you get to the ‘design’ phase.
c. Paste in your code – that’s the full document.
Be sure to test the email and check all links, and text to ensure everything is perfect before you send it.
